Why Make This Recipe
Baked mac and cheese is a delicious comfort food that brings warmth and joy to any meal. Its creamy texture and cheesy goodness make it a favorite among both kids and adults. This dish is perfect for family gatherings, potlucks, or simply a cozy dinner at home.
The versatility of baked mac and cheese allows you to customize it with your favorite ingredients. You can enjoy it as a classic dish or add different flavors and toppings to make it unique. Making this recipe from scratch not only ensures you use high-quality ingredients but also offers a tasty experience that store-bought versions can’t match.
Equipment Needed for Baked Mac and Cheese
Before diving into the recipe, it’s essential to gather the necessary equipment. The following kitchen tools will help you create the perfect baked mac and cheese:
- Large pot for boiling pasta
- Colander for draining pasta
- Large oven-proof skillet or Dutch oven
- Whisk for mixing ingredients
- Measuring cups and spoons
- Spoon or spatula for stirring
- Oven mitts for handling hot cookware
What You Need to Make Baked Mac and Cheese
To make an irresistible baked mac and cheese, you will need the following ingredients:
- 2½ cups elbow macaroni (10 oz) uncooked (will yield about 5 cups of cooked macaroni)
- 4 tablespoons butter (unsalted)
- 4 tablespoons all-purpose flour
- ½ teaspoon salt
- ¼ teaspoon pepper
- 3 cups milk (lukewarm)
- 2 cups provolone cheese (shredded)
- 4 cups sharp cheddar cheese (shredded)
- 1 tablespoon Worcestershire sauce
- ½ teaspoon smoked paprika
How to Cook Baked Mac and Cheese Step by Step
Start by preparing your oven for baking. Preheat your oven to 350°F (175°C). This will ensure that your dish cooks evenly and thoroughly. While the oven heats, you can focus on cooking the macaroni.
Boil the macaroni in a large pot according to the package instructions. Typically, this will involve adding the pasta to boiling salted water and cooking for around 7-10 minutes. You want the pasta to be al dente, as it will continue to cook in the oven. Once cooked, drain the macaroni using a colander and set it aside.
Now, it’s time to create a roux, which will give your cheese sauce a rich and creamy texture. In a large skillet that is oven-proof or a Dutch oven, add the butter over medium heat. Allow the butter to melt completely.
Once the butter is melted, whisk in the flour. Keep stirring for about 1 to 2 minutes until the mixture turns a light brown color. This process helps to cook the flour and eliminate any raw taste.
Next, add the salt and pepper to the roux, stirring well to combine. This step enhances the flavor of the sauce, making it more delicious.
Gradually add the lukewarm milk to the roux. You can choose to pour it in all at once, or add it in parts, whisking vigorously each time to ensure no lumps form. The goal is to achieve a smooth mixture that will serve as the base of your cheese sauce.
Now it’s time to bring in the cheese! Stir in the provolone cheese first, followed by half of the cheddar cheese. Whisk until the cheese is melted and thoroughly combined into the sauce. Add the Worcestershire sauce at this point, stirring well to incorporate it.
Taste the sauce and adjust the seasoning if necessary. If you desire a little more salt or pepper, now is the time to add it.
Cook the sauce over medium-high heat, keeping an eye on it as it thickens and begins to bubble. This should take approximately 5 minutes. Once you notice that the sauce has thickened, turn off the heat.
Now, it’s time to combine the macaroni with the cheese sauce. Pour the cooked macaroni into the skillet and stir gently until the pasta is well coated in the sauce.
Sprinkle the remaining cheddar cheese evenly over the top. Then, add a light sprinkle of smoked paprika to give your baked mac and cheese a slight smokiness and a beautiful color.
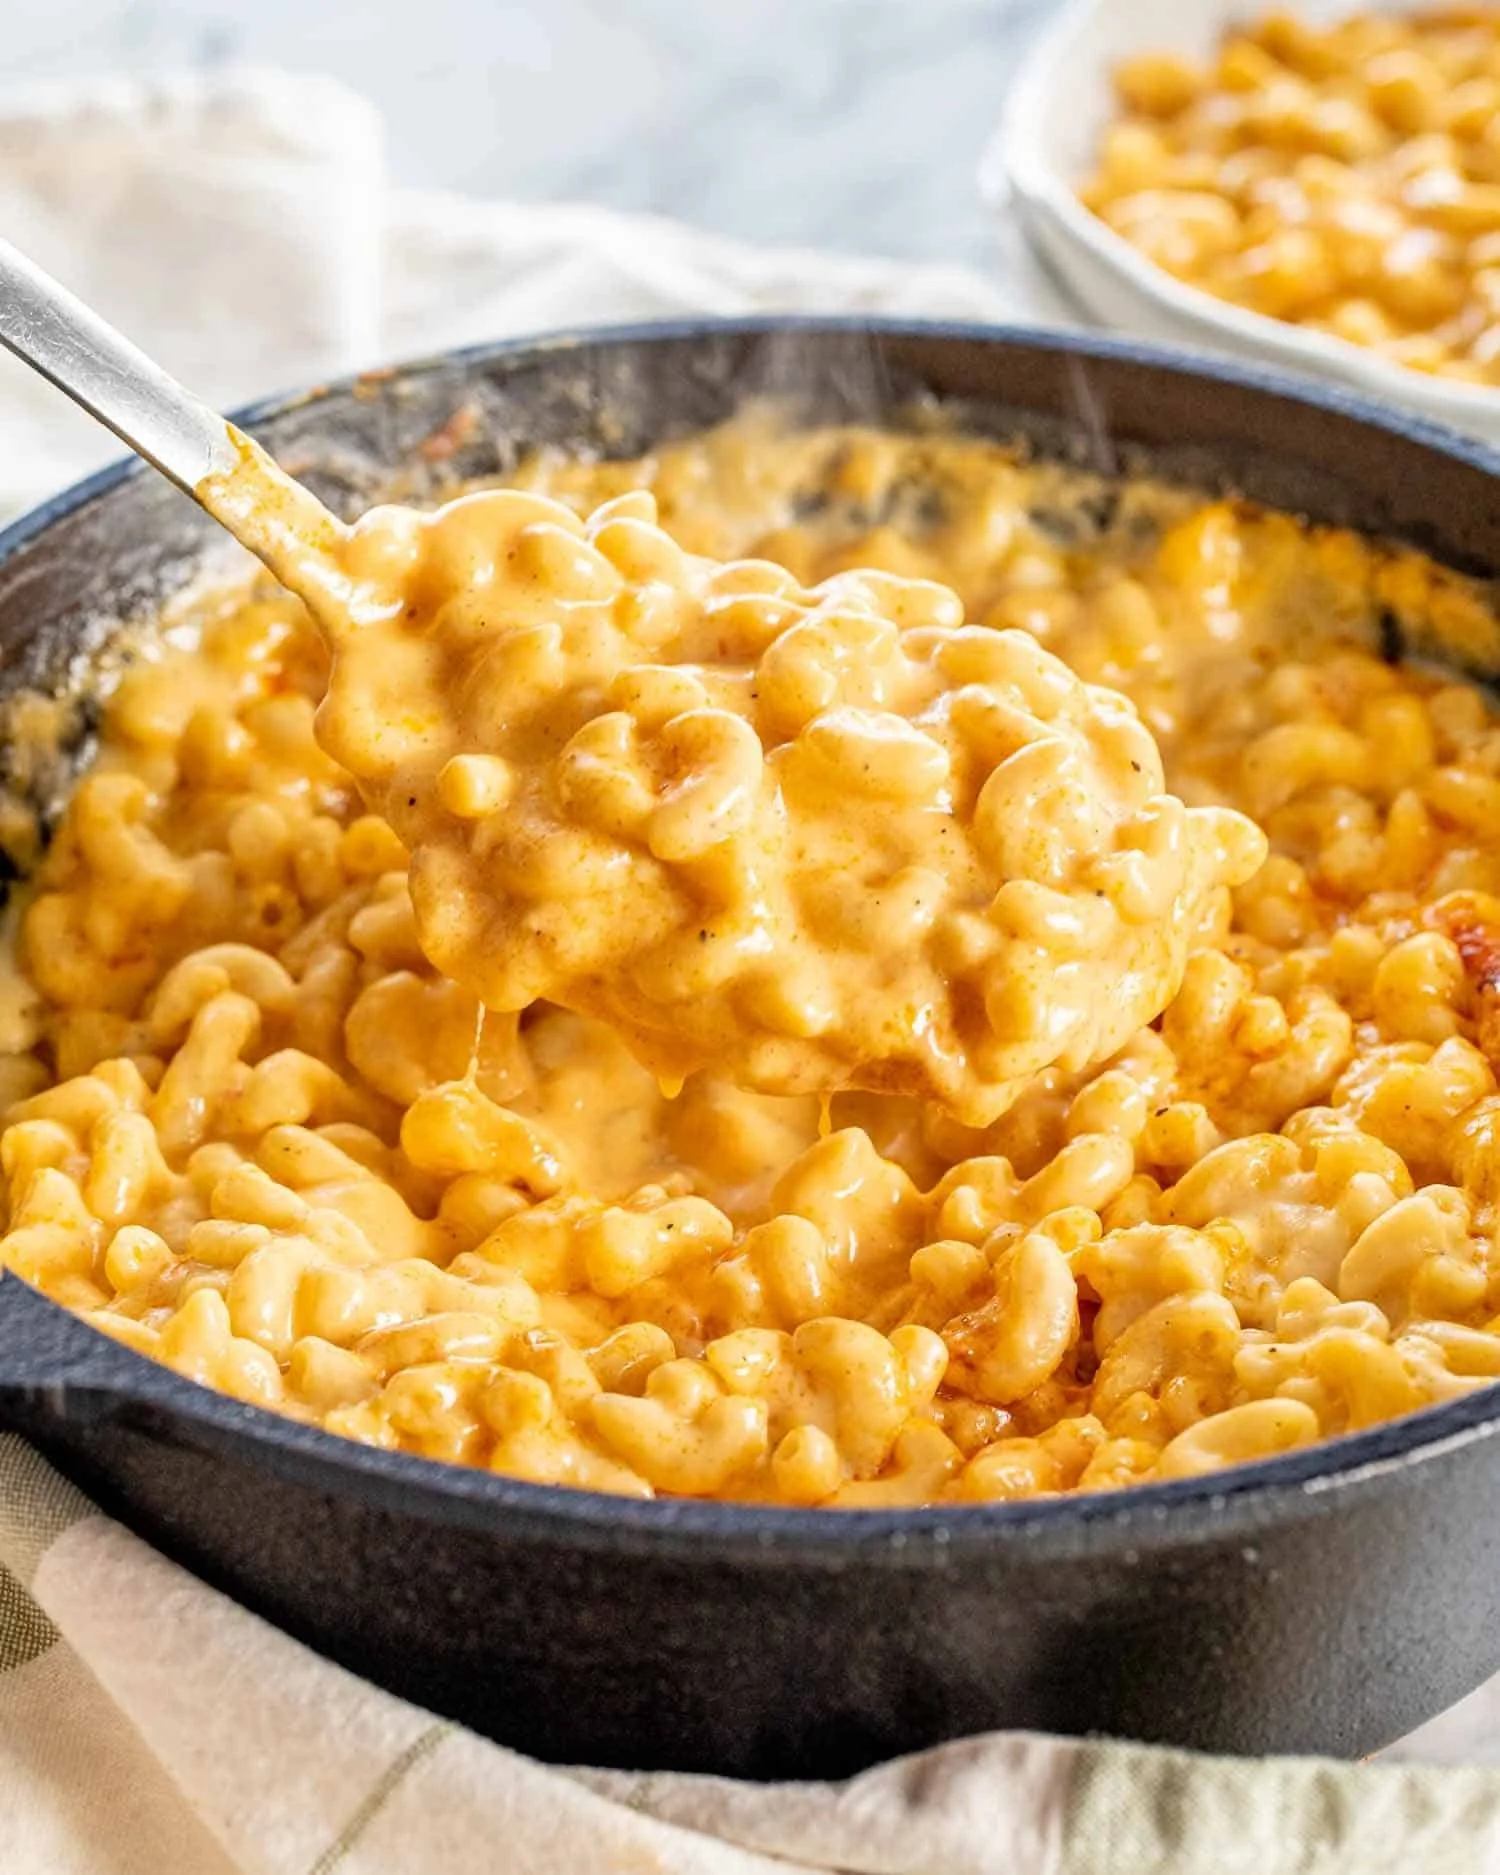
Transfer the skillet to the preheated oven and bake for about 15 minutes. You want the top to become golden brown and the edges bubbly, indicating that it’s ready to serve.
Once baked, carefully remove it from the oven. Allow it to sit for a couple of minutes before serving to let the cheese set slightly. Serve warm and enjoy this comforting dish!
How to Serve Baked Mac and Cheese
Baked mac and cheese is a delightful dish that can stand on its own, but serving it alongside other items can enhance the meal. It’s best to serve it warm right out of the oven for that perfectly gooey texture.
You can use a large spoon to dish it out into individual bowls or plates. For added flair, consider garnishing it with fresh parsley or additional smoked paprika for a pop of color and flavor.
If you want to keep things simple, serve the baked mac and cheese with a side salad. A light, crisp green salad dressed with vinaigrette will complement the richness of the mac and cheese beautifully.
What to Serve with Baked Mac and Cheese
Baked mac and cheese pairs wonderfully with a variety of side dishes. Here are some ideas to consider:
- Salads: Fresh green salads, coleslaw, or Caesar salad are all great choices. They add a refreshing crunch to the creamy pasta.
- Vegetables: Roasted or steamed vegetables like broccoli, asparagus, or Brussels sprouts can provide a healthy balance.
- Protein: Grilled chicken, meatloaf, or baked ham can make the meal more filling and satisfying.
- Bread: Garlic bread or soft dinner rolls can soak up the cheesy goodness, completing the meal wonderfully.
How to Store Baked Mac and Cheese
Storing leftover baked mac and cheese is quite easy. Allow it to cool completely before storing. Place it in an airtight container or cover it with plastic wrap if using a baking dish.
You can store it in the refrigerator for up to 3 to 5 days. If you anticipate needing it for a longer period, consider freezing it. Portion it into freezer-safe containers, and it will last for up to 2 months in the freezer.
To reheat, thaw frozen mac and cheese in the refrigerator overnight and then warm it in the oven at 350°F (175°C) until heated through, about 20 minutes. For individual portions, you can use the microwave. Just be sure to cover it to retain moisture.
Tips to Make Baked Mac and Cheese
To ensure your baked mac and cheese turns out perfectly every time, consider these helpful tips:
- Use Quality Cheese: Freshly grated cheese melts better than pre-shredded cheese. It contributes to a creamier texture.
- Don’t Overcook Pasta: Cook the macaroni just until al dente to prevent mushy pasta baked in the cheese sauce.
- Experiment with Cheeses: For a unique flavor profile, try mixing in different types of cheese, such as gouda, fontina, or mozzarella.
- Add Flavor: Incorporating spices like garlic powder, onion powder, or mustard powder can enhance the cheese sauce.
- Breadcrumb Topping: For extra crunch, sprinkle some seasoned breadcrumbs on top before baking. This adds a delightful crispy layer.
Variation
Baked mac and cheese is highly adaptable. Here are a few variations to try:
- Veggie Loaded: Mix in cooked vegetables like spinach, peppers, or mushrooms to boost the nutritional value of the dish.
- Bacon Bliss: Add cooked and crumbled bacon for a smoky flavor. It pairs wonderfully with the cheese.
- Spicy Kick: To spice things up, include diced jalapeños or a dash of hot sauce in the cheese sauce.
- Four-Cheese: Combine a mix of cheeses such as gouda, mozzarella, parmesan, and cheddar for an extra cheesy experience.
Best Time to Make Baked Mac and Cheese
Baked mac and cheese is perfect for any occasion. However, it shines during colder months when a comforting dish is most appreciated.
Consider making it for family gatherings, holidays, or potlucks. It’s a crowd-pleaser and can easily be scaled to feed a large number of guests.
Weekends are also great times to whip up this dish when you can enjoy the cooking process and savor a warm, hearty meal at the end of a busy week.
Common Mistakes to Avoid
When making baked mac and cheese, it’s essential to steer clear of common mistakes. Here are a few pitfalls to watch out for:
- Rushing the Roux: Ensure you cook the roux long enough to remove the raw flour taste, or the final dish may have an unpleasant flavor.
- Not Enough Seasoning: Taste the cheese sauce as you cook. Adding proper seasoning makes a significant difference.
- Overbaking: Keep an eye on the oven to prevent the dish from becoming too dry or overcooked. You want it bubbly and golden!
- Dry Cheese Sauce: Ensure the sauce is adequately creamy before adding the macaroni. If it feels too thick, add a bit more milk.
Nutritional Notes
While baked mac and cheese is a comfort meal, it can be made more nutritious with some adjustments. You can use whole-grain pasta or incorporate vegetables to increase fiber content.
Using lower-fat cheese can reduce calories, and opting for skim or low-fat milk helps to cut back on fat while keeping the creaminess.
FAQs
1. Can I make baked mac and cheese ahead of time?
Yes, you can prepare it and then store it in the refrigerator. When ready to serve, just reheat in the oven.
2. Can I freeze baked mac and cheese?
Absolutely! Just make sure it’s cooled completely before freezing. It can last for up to two months in the freezer.
3. What cheeses work best for mac and cheese?
Sharp cheddar is a classic choice, but mixing in provolone, mozzarella, or gouda can give more flavor and creaminess.
Conclusion
Baked mac and cheese is a timeless dish that comforts and satisfies. Its creamy texture and rich flavors make it a beloved favorite around the dinner table. With just a few basic ingredients and some straightforward steps, you can create a homemade version that beats any boxed alternative.
Whether you serve it as a main dish or a side, baked mac and cheese is sure to impress your family and friends. Enjoy experimenting with ingredients and flavors to make your recipe unique, and watch as it becomes a staple in your cooking repertoire. With this guide, you are well on your way to mastering baked mac and cheese!

Baked Mac and Cheese
Ingredients
Method
- Preheat your oven to 350°F (175°C).
- Boil the macaroni in a large pot according to the package instructions. Drain and set aside.
- In a large skillet or Dutch oven, melt butter over medium heat.
- Whisk in the flour and cook for 1-2 minutes until light brown.
- Add salt and pepper, stirring well.
- Gradually whisk in the lukewarm milk until the mixture is smooth.
- Add provolone and half of the cheddar cheese, stirring until melted.
- Mix in Worcestershire sauce and taste the sauce for seasoning.
- Cook the sauce over medium-high heat until thickened, about 5 minutes.
- Stir the cooked macaroni into the cheese sauce until well coated.
- Sprinkle the remaining cheddar cheese and smoked paprika on top.
- Transfer to the oven and bake for about 15 minutes until bubbly and golden brown.
- Allow to sit for a couple of minutes before serving.
- Serve warm, optionally garnished with fresh parsley or extra paprika.

