
# Couldn't Be Easier Cherry Pie Recipe: A Slice of Nostalgia
There’s a warmth in the air on summer afternoons when the smell of cherries fills my kitchen. I still remember the first time I made this Couldn't Be Easier Cherry Pie Recipe with my grandmother. Standing on a stool, just tall enough to see the countertop, I watched her expertly roll out the dough while vivid images of that lush, cherry-filled pie danced in my mind. The ease with which it came together was mesmerizing, and the simple joy of sharing that pie with family is a memory I've cherished forever. It's a recipe that not only fills your stomach but warms your heart.
## Flavor and Popularity
### The Unique Flavor Profile of Couldn't Be Easier Cherry Pie Recipe
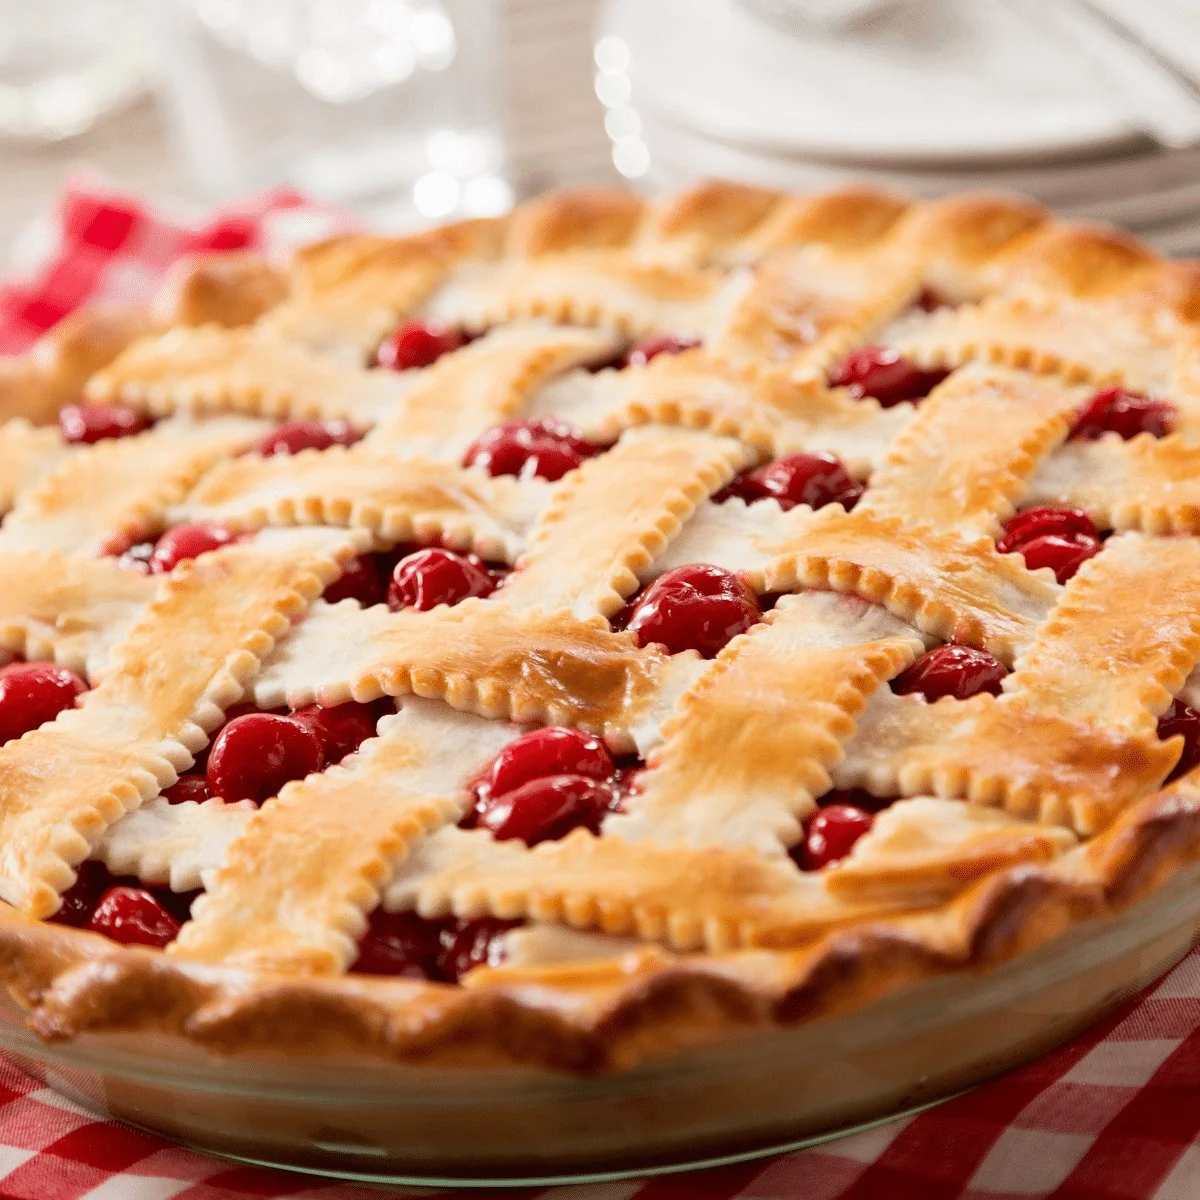
The beauty of the Couldn't Be Easier Cherry Pie Recipe lies in its delightful combination of flavors that create an inviting experience for the senses. The tartness of ripe cherries bursts through the buttery, flaky crust, while the subtle sweetness envelops every bite. Each slice reveals a ruby-red filling that glistens in the light, tempting you to dive in. The aroma wafting from the oven is almost intoxicating, a reminder of home and warmth.
Imagine savoring a sweet, savory bite where the juicy cherries intermingle with hints of cinnamon, creating a perfect balance that’s equally comforting and indulgent. The texture of the pie is another story; it's both tender and crisp, the way a pie crust should be, while the cherry filling is luscious and rich, coating your tongue with a delightful tang. It’s a slice of nostalgia, a harmony of flavors that takes you back to cherished moments.
### Why This Recipe Is a Family Favorite and Crowd-Pleaser
What sets this particular cherry pie apart is the ease with which it is prepared, making it a staple for family gatherings and celebrations. I recall the times when my family would gather around the table, laughter ringing in the air as we shared slices of this pie. There’s something beautifully simple about a recipe that brings loved ones together, and this pie does that effortlessly.
Whether it’s summer picnics or holiday feasts, the Couldn't Be Easier Cherry Pie Recipe has become synonymous with comfort. It's often the first dessert to disappear at potlucks, leaving behind empty plates and satisfied smiles. Families don’t just eat this pie; they celebrate with it, creating new traditions while honoring old ones.
## Ingredients and Preparation
### Essential Ingredients and Possible Substitutions
For the Couldn't Be Easier Cherry Pie Recipe, you'll need a small selection of pantry staples and fresh cherries. Here’s what you’ll need:
- Fresh or frozen cherries (the star of the dish)
- Sugar (for sweetness)
- Cornstarch (to thicken the filling)
- Lemon juice (for a touch of acidity)
- A touch of cinnamon (for warmth)
- Butter (for richness)
- Pre-made pie crust or homemade crust (you can use your favorite method)
If you’re looking to experiment, consider substituting almond extract for vanilla or adding a splash of bourbon for a deeper flavor. You can even use different berries if cherries aren’t in season, making the recipe delightfully versatile.
### Step-by-Step Recipe Instructions with Tips
Creating the Couldn't Be Easier Cherry Pie is straightforward and satisfying. Here’s how to do it:
First, preheat your oven to 425°F (220°C) to get it nice and hot. Then, pit your cherries if you haven't already and toss them into a mixing bowl. Next, sprinkle over the sugar, cornstarch, lemon juice, and cinnamon, giving everything a gentle mix until the cherries are well coated.
Now, roll out your pie crust and place it into a pie dish for a lovely foundation. Pour the luscious cherry mixture into the crust, then dot it with small pieces of butter for that extra richness. Carefully place the second crust on top, crimping the edges to seal in all that juicy goodness. Cut a few slits in the top crust to allow steam to escape, and for a touch of artistry, sprinkle a bit of sugar on top before placing it in the oven.
Bake for 40-45 minutes, keeping an eye on it. You want the crust to turn golden and the filling to bubble enticingly. Once it’s done, let the pie cool for at least 30 minutes before slicing. This allows the juices to set and makes serving much simpler.
### Cooking Techniques and Tips
To cook the Couldn't Be Easier Cherry Pie perfectly, focus on two main aspects: temperature and texture. Always pre-bake your crust slightly before adding the filling if you prefer a crispier bottom. This will help avoid the dreaded sogginess.
Keep your cherries fresh and avoid overripe ones, as they can lead to a watery filling. The perfect texture comes from balancing the right amount of cornstarch to thicken the juices—too little, and your pie is soupy; too much, and it becomes dry.
### Common Mistakes to Avoid
One of the most common mistakes is overbaking the pie. Watch for the crust turning golden brown, and if it browns too quickly, cover it with foil to prevent burning while the filling cooks through. Also, be mindful of the sugar; each type of cherry can vary in sweetness, so adjust according to your taste. Lastly, letting the pie cool completely is key; slicing too soon creates a delicious mess!
## Health Benefits and Serving Suggestions
### Nutritional Value of Couldn't Be Easier Cherry Pie Recipe
While pie isn’t typically hailed as a health food, the Couldn't Be Easier Cherry Pie does come with some benefits! Cherries are rich in antioxidants and vitamins, particularly Vitamin C, contributing to overall health. Plus, they have anti-inflammatory properties. Pair that with a homemade crust, and you’re treating yourself to a slice that holds some nutritional value amidst the indulgence.
### Best Ways to Serve and Pair This Dish
This cherry pie pairs beautifully with a scoop of vanilla ice cream or whipped cream, allowing a creamy contrast to the toasted crust and tart filling. It also makes a delightful addition to brunch or a summer cookout, served alongside fresh salads or grilled meats. Trust me; it transforms any ordinary gathering into a special occasion!
## FAQ Section
**Can I use alternative ingredients or substitutions?**
Absolutely! If cherries aren’t available, feel free to swap in other fruits like blueberries, peaches, or even mixed berries. You can also make your crust using whole wheat flour for a heartier texture.
**How do I store leftover Couldn't Be Easier Cherry Pie Recipe?**
Store any leftovers at room temperature for up to two days or in the refrigerator for about a week. Just cover it gently with foil or cling film—even though they might not last that long!
**Can I freeze Couldn't Be Easier Cherry Pie Recipe?**
Yes, this cherry pie freezes beautifully! You can freeze it unbaked; simply wrap it well in plastic wrap or aluminum foil, and bake from frozen, adding extra bake time. Alternatively, you can freeze leftovers for a delightful treat later.
## Conclusion
Creating the Couldn't Be Easier Cherry Pie Recipe isn’t simply about baking; it's about connecting with people, celebrating life’s little moments, and filling your home with that irresistible cherry aroma. If you’re like me and cherish those nostalgic flavors mixed with modern simplicity, this recipe is a must-try. It brings comfort and joy to the table, and trust me, you’ll want to make this again and again for both special occasions and everyday treats.

Couldn't Be Easier Cherry Pie
A simple and nostalgic cherry pie recipe that combines tart cherries with a buttery crust, perfect for family gatherings and celebrations.
Ingredients
Method
Preparation
- Preheat the oven to 425°F (220°C).
- Pit cherries if not already done and place them in a mixing bowl.
- Add sugar, cornstarch, lemon juice, and cinnamon to the cherries and mix gently until well coated.
- Roll out the pie crust and place it into a pie dish.
- Pour the cherry mixture into the crust and dot with small pieces of butter.
- Place the second pie crust on top, crimp the edges to seal, and cut slits for steam escape.
- Sprinkle sugar over the top crust before baking.
Baking
- Bake for 40-45 minutes until the crust is golden and the filling bubbles.
- Cool for at least 30 minutes before slicing to allow juices to set.
Notes
To get a crisp crust, consider pre-baking it slightly before adding the filling. Store leftovers at room temperature for up to two days or in the refrigerator for up to a week.