
Why Make This Recipe
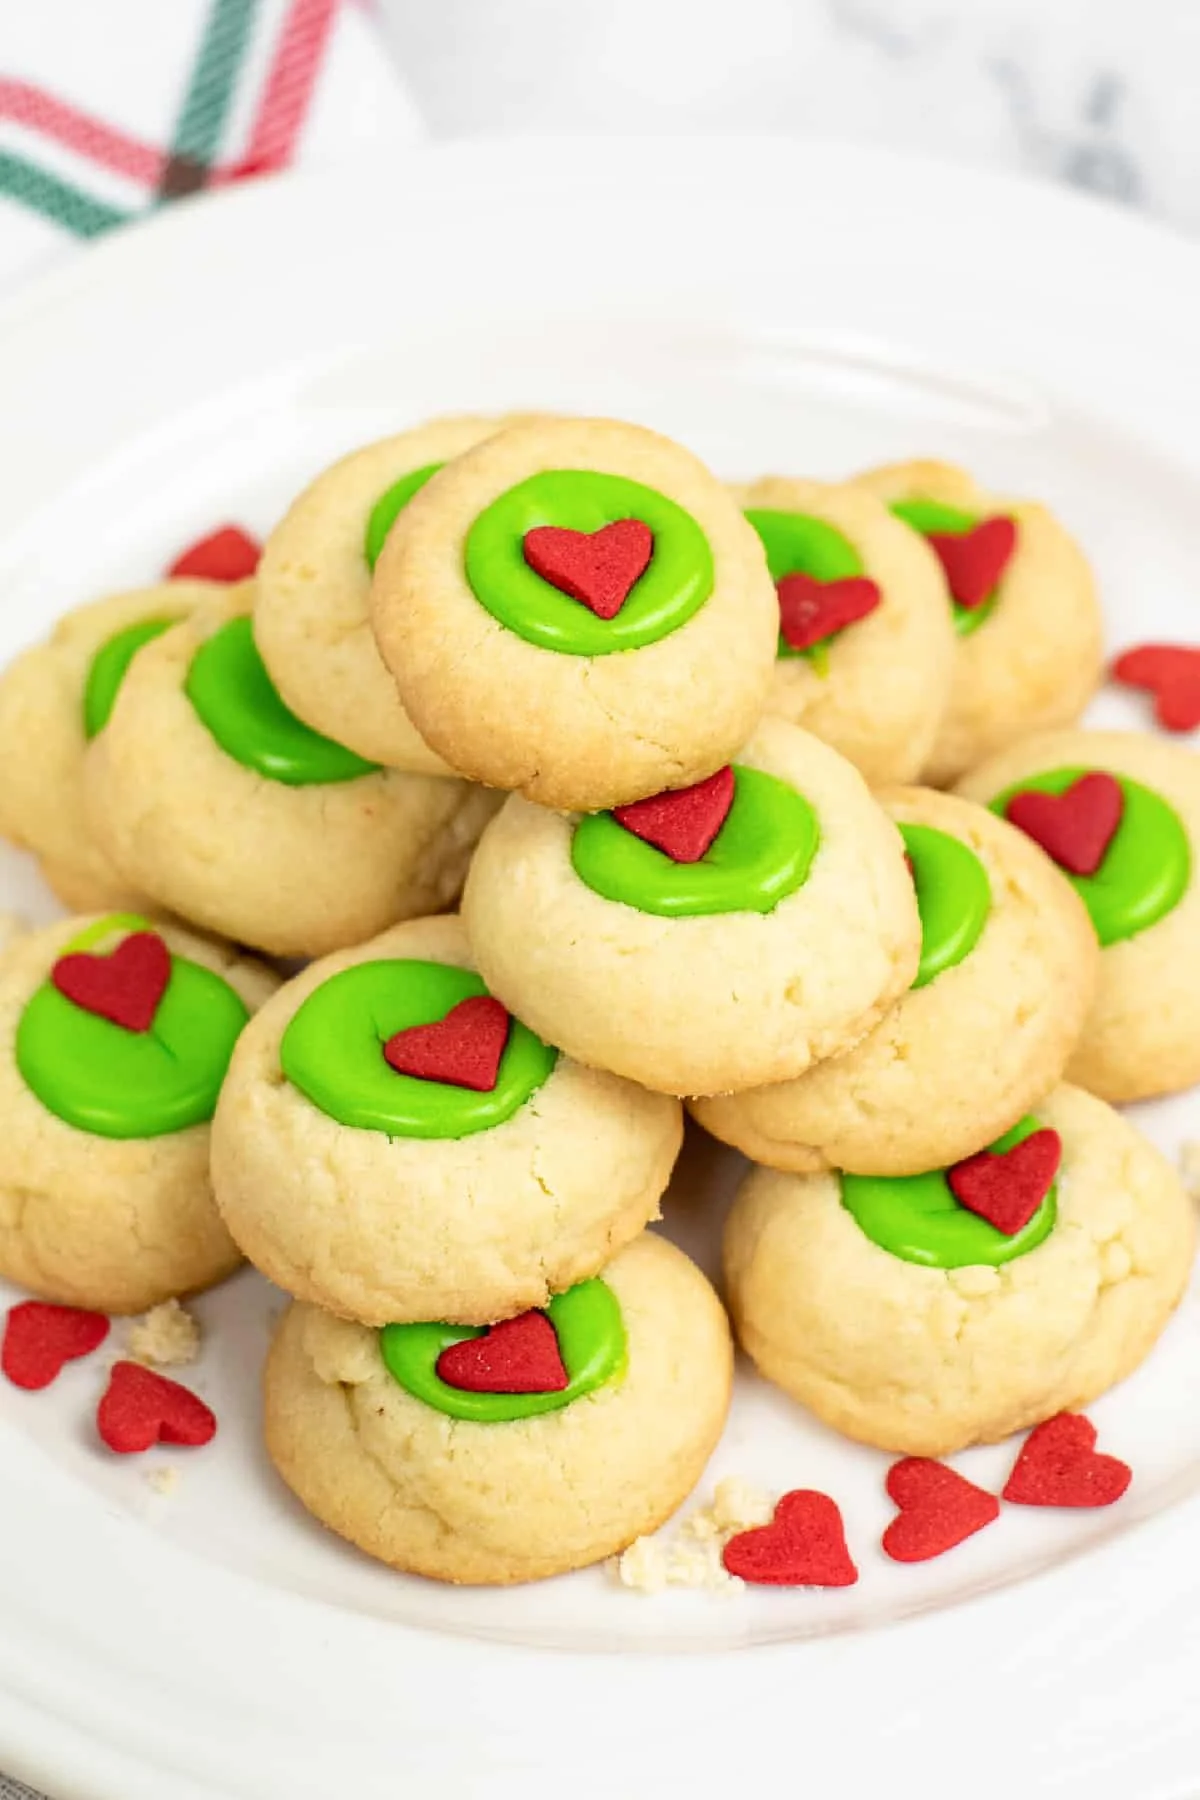
Grinch Style Thumbprint Cookies are a delightful treat that captures the festive spirit of the holiday season. With their vibrant green hue and heart-shaped decorations, they are a feast for both the eyes and the taste buds. These cookies offer a fun and whimsical twist on the traditional thumbprint cookie, making them perfect for family gatherings, cookie swaps, or simply as a sweet indulgence during the holidays.
Making these Grinch cookies can create lasting memories with loved ones. Baking is an activity that brings people together, and these cookies make it even more special. The process is simple and allows for creativity, especially when decorating. Everyone can get involved, making it a perfect project for families or friends looking to celebrate the season together.
Equipment Needed for Grinch Style Thumbprint Cookies
Before you start making Grinch Style Thumbprint Cookies, it’s important to gather the right equipment. Here’s what you’ll need:
- Large mixing bowl
- Electric mixer or whisk
- Baking sheet
- Parchment paper
- Wooden spoon or your thumb (for making the indents in the cookies)
- Wire rack (for cooling the cookies)
- Zip-top bag (for filling the cookies)
Having these tools ready will make your baking experience smoother and more enjoyable.
What You Need to Make Grinch Style Thumbprint Cookies
To create these delightful cookies, you will need the following ingredients:
1 cup butter, softened, unsalted
1/4 cup sugar
1 large egg yolk
1/4 teaspoon salt
2 cups all-purpose flour
1 cup powdered sugar
2 teaspoons milk
2 teaspoons corn syrup
1/2 teaspoon vanilla extract
Heart sprinkles
Green food coloring
These ingredients are easy to find in most grocery stores, ensuring you’ll be well-equipped to bake these cookies.
How to Cook Grinch Style Thumbprint Cookies Step by Step
To start baking these festive cookies, first, preheat the oven to 350°F (175°C). This preparation is key to ensuring your cookies are baked evenly. While the oven heats, line a baking sheet with parchment paper. This will help prevent the cookies from sticking and make cleanup a breeze.
In a large mixing bowl, combine the softened butter and sugar. Using an electric mixer or a whisk, cream these ingredients together until the mixture is smooth and fluffy. This step is essential, as it helps to incorporate air and gives your cookies a light texture. After achieving a creamy consistency, add the large egg yolk and mix well to incorporate all ingredients fully.
In a separate bowl, sift together the all-purpose flour and salt. Gradually add this mixture to the butter mixture, stirring continuously. You want to continue mixing until the dough comes together. This dough should be soft yet firm enough to hold its shape when scooped.
Once your dough is prepared, scoop out tablespoon-sized balls and place them on the lined baking sheet. Make sure to space them about two inches apart, as they will spread a little while baking. Next, use a wooden spoon or your thumb to create an indent in the top of each cookie. This is what will hold your lovely filling later on.
Now, place the baking sheet in your preheated oven and bake for approximately ten minutes. Watch closely, as baking times may vary. Once you remove the cookies from the oven, press the centers again lightly to ensure the indent remains. Bake them for an additional 10-12 minutes or until they turn a light golden brown.
Once they are done baking, allow the cookies to cool on the baking sheet for about two to three minutes. After that, gently transfer them to a wire rack to cool completely. This step is important, as allowing them to cool helps maintain their shape and texture.
While the cookies cool, prepare the filling. In a bowl, mix the powdered sugar, corn syrup, vanilla extract, and milk until you have a smooth and spreadable consistency. This filling adds flavor and sweetness to your cookies, enhancing the overall experience.
Next, take a zip-top bag and fill it with the prepared filling. Snip one corner of the bag with scissors, creating a small opening. This will allow you to easily pipe the filling into the indent of each cooled cookie. Carefully fill each cookie, ensuring the filling reaches the edges of the indent.
Finally, to finish your Grinch Style Thumbprint Cookies, sprinkle heart-shaped decorations on top of the filling. These sprinkles not only add a festive touch but also make the cookies visually appealing. Let the cookies sit for a little while, ensuring the filling sets before you dig in and enjoy your masterpiece!
How to Serve Grinch Style Thumbprint Cookies
Once your Grinch Style Thumbprint Cookies are ready, it’s time to serve and enjoy them! Arrange the cookies on a festive platter or cookie tray. This presentation adds to the holiday spirit and makes them perfect for sharing with guests.
For an extra touch, consider pairing these cookies with a glass of milk or a cup of hot cocoa. The creamy flavors balance the sweetness of the cookies, creating a delightful combination. You can even add a sprinkle of cinnamon or peppermint on top of the drinks for an additional festive flair.
If you are hosting a holiday gathering, these cookies can serve as a centerpiece. They’re an excellent addition to cookie exchange parties or holiday cookie decorating sessions. The vibrant green color and heart-shaped decorations will catch the eyes of your guests and create a cheerful atmosphere.
What to Serve with Grinch Style Thumbprint Cookies
When serving Grinch Style Thumbprint Cookies, you might want to consider additional treats to complement them. Here are some ideas that pair nicely with these festive cookies:
- Peppermint hot chocolate: This warm beverage enhances the holiday spirit and pairs wonderfully with the cookies.
- Eggnog: A traditional holiday drink that brings a creamy richness, perfectly balancing the sweetness of the cookies.
- Fruit platters: Fresh fruits like strawberries or grapes add freshness and a light contrast to the cookies.
Creating a dessert table or buffet with a variety of sweets and drinks can elevate the experience for your guests and make your gathering more memorable.
How to Store Grinch Style Thumbprint Cookies
To keep your Grinch Style Thumbprint Cookies fresh, proper storage is crucial. Once the cookies are completely cooled and the filling is set, store them in an airtight container. Make sure to layer the cookies with parchment paper to prevent them from sticking together.
If kept stored properly, these cookies can last for about a week at room temperature. For longer storage, you can freeze the cookies before adding the filling. Place them in an airtight container, separating layers with parchment paper, and freeze for up to three months.
When you are ready to enjoy the frozen cookies, simply thaw them at room temperature. Once thawed, you can prepare the filling and decorate as desired. This way, you can have delicious Grinch Style Thumbprint Cookies even after the holiday rush!
Tips to Make Grinch Style Thumbprint Cookies
To ensure that your Grinch Style Thumbprint Cookies turn out perfectly, here are some helpful tips:
- Use room temperature butter. This will help achieve a creamy consistency during mixing and result in a better texture for the cookies.
- Don’t overmix the dough. When combining the flour mixture with the butter mixture, mix until just combined. Overmixing can lead to tough cookies.
- Chill the dough. If you find the dough is too soft to scoop, consider chilling it in the refrigerator for 20-30 minutes. This will make it easier to handle.
Implementing these tips can lead to better results and a more enjoyable baking process.
Variation
If you want to mix things up a bit with your Grinch Style Thumbprint Cookies, consider adding different flavors or colors to the filling. For instance, you can use flavored extracts like almond or mint to change the profile of the filling.
Additionally, you can use food coloring to create vibrant fillings in different colors. This customization can make your cookies even more fun and visually appealing, especially for holiday gatherings where presentation matters.
Best Time to Make Grinch Style Thumbprint Cookies
While Grinch Style Thumbprint Cookies can be enjoyed year-round, they shine particularly during the holiday season. Baking them during festive gatherings, family get-togethers, or as part of holiday traditions makes them special.
Consider making these cookies in early December, allowing plenty of time for sharing and enjoying with friends and family throughout the month. They also make excellent gifts for neighbors, coworkers, or anyone appreciative of homemade treats.
Common Mistakes to Avoid
To ensure your baking experience is smooth and successful, here are some common mistakes to avoid:
-
Forgetting to preheat the oven: Always make sure your oven is preheated to the right temperature before placing the cookies inside.
-
Not allowing cookies to cool: Give your cookies enough time to cool before you fill them. This prevents the filling from melting or running off.
-
Overfilling the cookies: When you pipe the filling, avoid overfilling, as this can lead to spills and mess.
Staying mindful of these tips will help you achieve the best outcome with your Grinch Style Thumbprint Cookies.
Nutritional Notes (Optional)
While Grinch Style Thumbprint Cookies are undoubtedly delicious, they should be enjoyed in moderation, especially for those monitoring their sugar intake. Each cookie provides a sweet treat and can be part of a balanced diet when consumed occasionally.
Using substitutions, such as lighter butter options or sugar substitutes, can help make these cookies a little healthier if desired. However, ensuring the delicious flavor is maintained is key when considering modifications.
FAQs
Can I use different colors of food coloring?
Absolutely! Feel free to use any color of food coloring to achieve the desired look. Red for a festive touch, or even a rainbow effect can add fun to your cookies.
How can I make the cookies more festive?
In addition to heart sprinkles, consider using edible glitter or themed sprinkles. You could also decorate with colored icing or place mini candy canes on top for added flair.
Can I freeze the baked cookies?
Yes, you can freeze the baked cookies before adding the filling. Just ensure they are complete with proper storage to avoid freezer burn. Allow them to thaw completely in the air before filling.
Conclusion
Grinch Style Thumbprint Cookies are a festive and delicious treat to brighten your holiday season. With their cheerful green color, delightful filling, and heart decorations, they are perfect for sharing with friends and family. The easy process of making these cookies allows everyone to get involved, creating cherished memories and tasty treats.
So gather your loved ones, roll up your sleeves, and delight in making these fun holiday cookies that will surely leave everyone with a smile. Enjoy the sweet moments together while savoring the goodness of your homemade Grinch Style Thumbprint Cookies!

Grinch Style Thumbprint Cookies
Ingredients
Method
- Preheat the oven to 350°F (175°C) and line a baking sheet with parchment paper.
- In a large mixing bowl, cream together the softened butter and sugar until smooth and fluffy.
- Add the egg yolk and mix well.
- In another bowl, sift the all-purpose flour and salt, then gradually add to the butter mixture, mixing until a soft dough forms.
- Scoop tablespoon-sized balls of dough and place them on the baking sheet, spacing them two inches apart.
- Create an indent in the center of each ball using a wooden spoon or your thumb.
- Bake in the preheated oven for about 10 minutes, then check and press down the centers slightly again.
- Continue baking for an additional 10-12 minutes until light golden brown.
- Let the cookies cool on the baking sheet for 2-3 minutes before transferring to a wire rack.
- In a bowl, combine powdered sugar, corn syrup, vanilla extract, and milk until smooth.
- Transfer the filling to a zip-top bag, snipping one corner to create a piping bag.
- Fill each cookie indent with the prepared filling.
- Sprinkle heart-shaped decorations on top of the filling.
- Allow the cookies to sit for a while to let the filling set before serving.