
Why Make This Recipe
Snowflake cookies are not just a treat; they are a delightful experience. Their delicate appearance and sweet taste make them perfect for any occasion, especially during the winter holidays. Their beautiful snowflake design can be a wonderful creative outlet, allowing bakers of all skill levels to express their artistry.
These cookies are also incredibly simple to make, requiring only a handful of ingredients. Whether you’re baking for family, friends, or a community event, these cookies will surely bring smiles and joy. They are perfect for sharing, decorating, or simply enjoying with a cup of hot cocoa!
Equipment Needed for Snowflake Cookies
To make snowflake cookies, you will need some essential kitchen equipment. A good mixing bowl is crucial for combining your ingredients effectively. A hand mixer or stand mixer will help in creaming the butter and sugars until they are light and fluffy.
You’ll also need a rolling pin to roll out your dough to the right thickness. The snowflake cookie cutters are the stars of the show, allowing you to create the iconic snowflake shapes. A baking sheet is required for placing the cookies in the oven, while parchment paper ensures the cookies don’t stick. Lastly, wire racks are necessary for cooling the cookies once they come out of the oven.
What You Need to Make Snowflake Cookies
- 2 cups all-purpose flour
- 1/2 cup powdered sugar (plus extra for dusting)
- 1/4 cup granulated sugar
- 1 cup unsalted butter, softened
- 1 teaspoon vanilla extract
- 1/4 teaspoon almond extract (optional)
- 1/2 teaspoon salt
- 1 large egg
How to Cook Snowflake Cookies Step by Step
Begin by preparing the dough. In a large mixing bowl, cream together the softened butter, granulated sugar, and powdered sugar. Using a hand mixer or a stand mixer set to medium speed, mix these ingredients until the mixture is light, fluffy, and well combined, which should take about three minutes.
Next, add the egg, vanilla extract, and almond extract if you choose to use it. Beat until all the ingredients are fully combined, creating a smooth and creamy mixture.
Now, it’s time to add the dry ingredients. In a separate bowl, whisk together the all-purpose flour and salt until they are evenly mixed. Gradually add this dry mixture to your wet ingredients. It’s important to mix on low speed just until a smooth dough forms; be careful not to overmix the dough as this will affect the texture of your cookies.
Once the dough is mixed, chill it to enhance its workability. Take the dough, divide it into two equal portions, and flatten each portion into a disc shape. Wrap each disc tightly in plastic wrap and place them in the refrigerator. Allow the dough to chill for at least one hour or until it is firm enough to roll out.
When you’re ready to shape your cookies, start by rolling out the dough. On a lightly floured surface, take one disc of chilled dough and roll it out to about 1/4-inch thickness. Using a round cookie cutter, cut circles from the rolled dough. For each circle, use a knife or a toothpick to mark six evenly spaced points around the edge. Gently pinch the dough at each point to create arms resembling a snowflake.
If you’d like to create a variation, roll out another disc of dough and cut circles as before. This time, mark the edges into seven segments. Pinch each segment to form a seven-pointed snowflake, providing a unique twist on this festive treat.
Prepare your oven for baking. Preheat it to 350°F (175°C) and line your baking sheets with parchment paper. Arrange the shaped cookies on the sheets at least two inches apart to allow for spreading. Bake the cookies in the oven for about 10–12 minutes, watching closely until the edges turn a light golden brown. Be cautious not to overbake them, as the perfect cookies will have a soft and tender center.
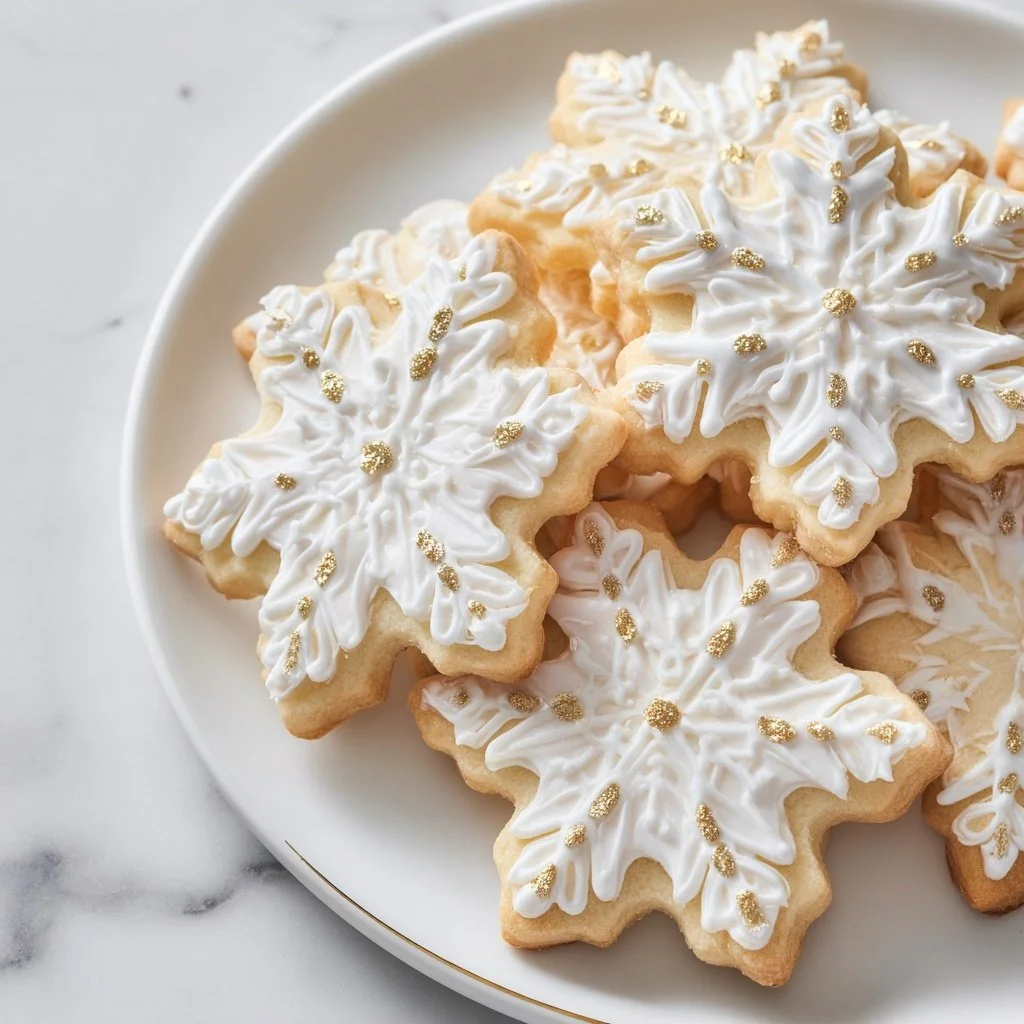
Once baked, allow the cookies to cool completely on wire racks. After they have cooled, finish them off with a light dusting of powdered sugar, giving them a beautiful snowy appearance that is simply enchanting.
How to Make Snowflake Cookies
To enjoy making snowflake cookies, start by gathering all your ingredients. Ensure your butter is softened for easy creaming. The mixing process is key; beat the butter and sugars well for the right texture. Don’t rush the drying process; chilling the dough is crucial to achieving perfect results.
Shape the cookies carefully, and feel free to play around with the designs. The beauty of snowflakes is that no two are alike. Bake them until they are just golden around the edges, so they remain soft and delightful. After cooling, the finishing touch of powdered sugar brings your cookies to life.
How to Serve Snowflake Cookies
Snowflake cookies serve beautifully on a festive plate. You can arrange them in a whimsical pattern, showcasing their delicate designs. A light dusting of powdered sugar adds an extra touch of elegance, making them perfect for holiday gatherings or parties.
Consider pairing these cookies with hot beverages such as hot chocolate, coffee, or tea. This combination is a delightful way to warm up during colder days. They make ideal gifts too, especially when wrapped in clear cellophane or placed in a decorative tin.
What to Serve with Snowflake Cookies
In addition to beverages, snowflake cookies can be complemented with several treats. Dairy-based options like milk or eggnog pair wonderfully, enhancing the sweetness of the cookies.
You may also consider serving these cookies alongside fruit, like berries or citrus slices, which can provide a refreshing contrast to the sweetness. Moreover, including some nuts or a cheese board can create a balanced dessert table, offering something for everyone.
How to Store Snowflake Cookies
Storing your snowflake cookies is essential for maintaining their freshness. Once they have cooled completely, store them in an airtight container. This will keep them soft and delicious for several days.
If you want to keep cookies for a longer time, consider freezing them. Place the cooled cookies in a single layer in a freezer-safe container, or wrap them tightly in plastic wrap before placing them in a zip-top bag. They can be frozen for up to three months. When ready to enjoy, simply thaw them at room temperature.
Tips to Make Snowflake Cookies
When making snowflake cookies, start with room temperature ingredients. This helps achieve a better consistency when creaming the butter and sugars.
Always measure your flour correctly. Too much flour can result in dry cookies. Spoon the flour into the measuring cup and level it off with a knife instead of scooping directly from the bag.
Don’t skip the chilling step. If the dough is too warm, it can be difficult to shape your cookies. Aim for a slight firmness to make cutting easier.
Variation
If you want to explore other variations for snowflake cookies, consider adding colored sugar or edible glitter to the decoration. These unique touches can make your cookies sparkle even more.
You can also experiment with different flavor extracts. Substituting vanilla with peppermint or lemon can add an exciting twist to the classic recipe. These subtle changes can create innovative flavors to delight your taste buds.
Best Time to Make Snowflake Cookies
Snowflake cookies are best made during the winter months, especially around holidays like Christmas and New Year’s. This is when people gather to celebrate, and these cookies can be a delightful addition to festivities.
Additionally, any time your family or friends come together, these cookies are a perfect way to share joy. You can even make them for birthdays or cozy gatherings in the colder months, ensuring your guests feel warmth and happiness.
Common Mistakes to Avoid
One common mistake in making snowflake cookies is overmixing the dough. This can lead to tough cookies. Always mix just until combined.
Another error is baking at the wrong temperature. Double-check your oven’s accuracy for the best results.
Lastly, avoid neglecting the cooling process. Letting cookies cool on wire racks is crucial; skipping this can lead to soggy cookies or icing that won’t set properly.
Nutritional Notes
While snowflake cookies are a delightful treat, be mindful of portion sizes, especially during holiday seasons. Each cookie is a small indulgence, but the stars of this recipe—sugar and butter—make these care recipients of extra calories. Enjoy them as part of a balanced diet.
FAQs
Can I use margarine instead of butter?
Yes, you can use margarine, but it may affect the taste and texture of the cookies. Unsalted butter is recommended for the best results.
How long do these cookies last?
When stored correctly in an airtight container, snowflake cookies can last about a week at room temperature or up to three months in the freezer.
Can I make this dough in advance?
Absolutely! The dough can be prepared a few days in advance and stored in the fridge. Just remember to let it soften slightly before rolling it out for shaping.
Conclusion
Snowflake cookies are a charming and delicious addition to any holiday celebration. With their simple recipe and delightful design, they can delight both bakers and eaters alike. The joy of sharing them adds to the festive spirit, making them a beloved tradition in many homes.
Whether you make six-point or seven-point snowflakes, their beauty and taste make them perfect for any occasion. So gather your ingredients, roll up your sleeves, and create these sweet treats that will surely warm the hearts of those around you!